When you live in one of the top island destinations in the world, the need to leave for a vacation can seem silly. Many who live here need to “get off the rock” periodically, but my husband and I have never felt the need. We lived in Maui for 3 years before I discovered how much I love soaring above the clouds across the vast Pacific to visit friends and family on the Mainland.

Off the coast of Maui
So much so, that in the summer of 2014, I flew to Washington State twice in 2 months, for a whirlwind of food, family, friends and fun. The second trip wasn’t originally planned, but was necessary, because I learned on the first trip that my friend Sally retired from teaching at the same school where I taught for 13 years. There was a wonderful retirement party with great food, drink and conversation with my school friends…I loved it! My recent sojourn to the Mainland ended about a month and a half ago, after a too-short trip to celebrate my second cousin Betty’s 80th birthday. A more enthusiastic and loving person you will not meet, and I could not imagine missing her birthday bash. Too many years ago to count, I flew from Washington, D.C. to Hawaii, and said that I would never fly straight through between the East Coast and Hawaii ever again; the trip is too long, and if it can be broken up with a fun layover stop, why not. So stop I did, in Orange County, California, where my Aunt Debbie lives. Because we are so close in age, we are more like sisters than aunt and niece, and had much catching up to do. Apparently we gain superhuman stamina when we are together, because a lot of our catching up was done in the wee hours of the morning {as late as 4:30 one morning-yikes!}. We had a blast for almost a week at her house, before we took off for Washington, D.C. and the gorgeous Shenandoah Valley in Virginia, where my family tree has many roots. If you are in Southern California, near Costa Mesa, I highly recommend that you pay a visit to Surfas Culinary District.

Eat at the Surfas Cafe

Describing the food at Surfas
Whether you are a home cook or a professional, you will find Surfas a delightful place to spend some time. Until you can get there, click here to take a virtual tour of the store. Surfas has a cafe, a fabulous olive bar and they also offer wine tasting during business hours. My aunt Debbie and I were admiring a beautiful jar of what can only be described as gourmet maraschino cherries; they were much larger than the maraschino cherries usually seen on the grocery shelf, and their color was deep, rich burgundy, like a fine Merlot. The wonderful lady behind the counter said she happened to have an open jar, and offered us a taste. Oh my goodness! I don’t know about you, but as a child, I loved the maraschino cherries in fruit cocktail, on hot fudge sundaes and everywhere else they made an appearance. The neon red cherries have not appealed to me for many moons, but these lovely cherries were luscious. There were some gorgeous dry pasta offerings, which we could not resist. We made a beautiful pasta salad with the multicolor pasta pictured below, and it was just as colorful in the salad as it was dry!
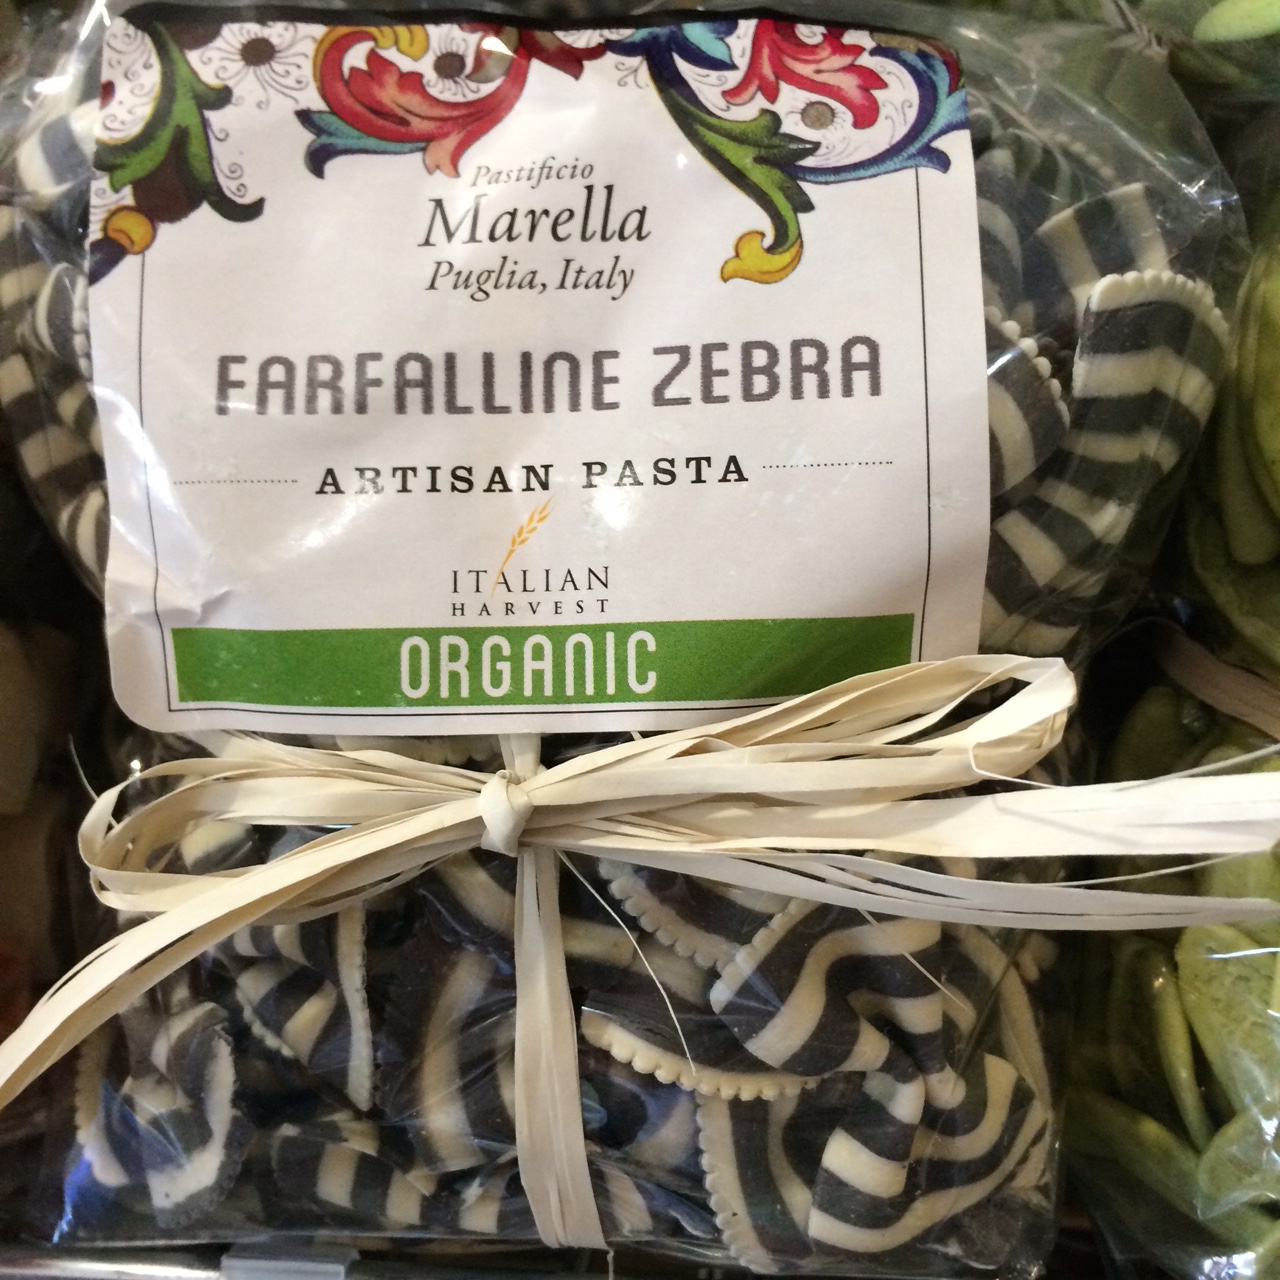
Zebra Pasta
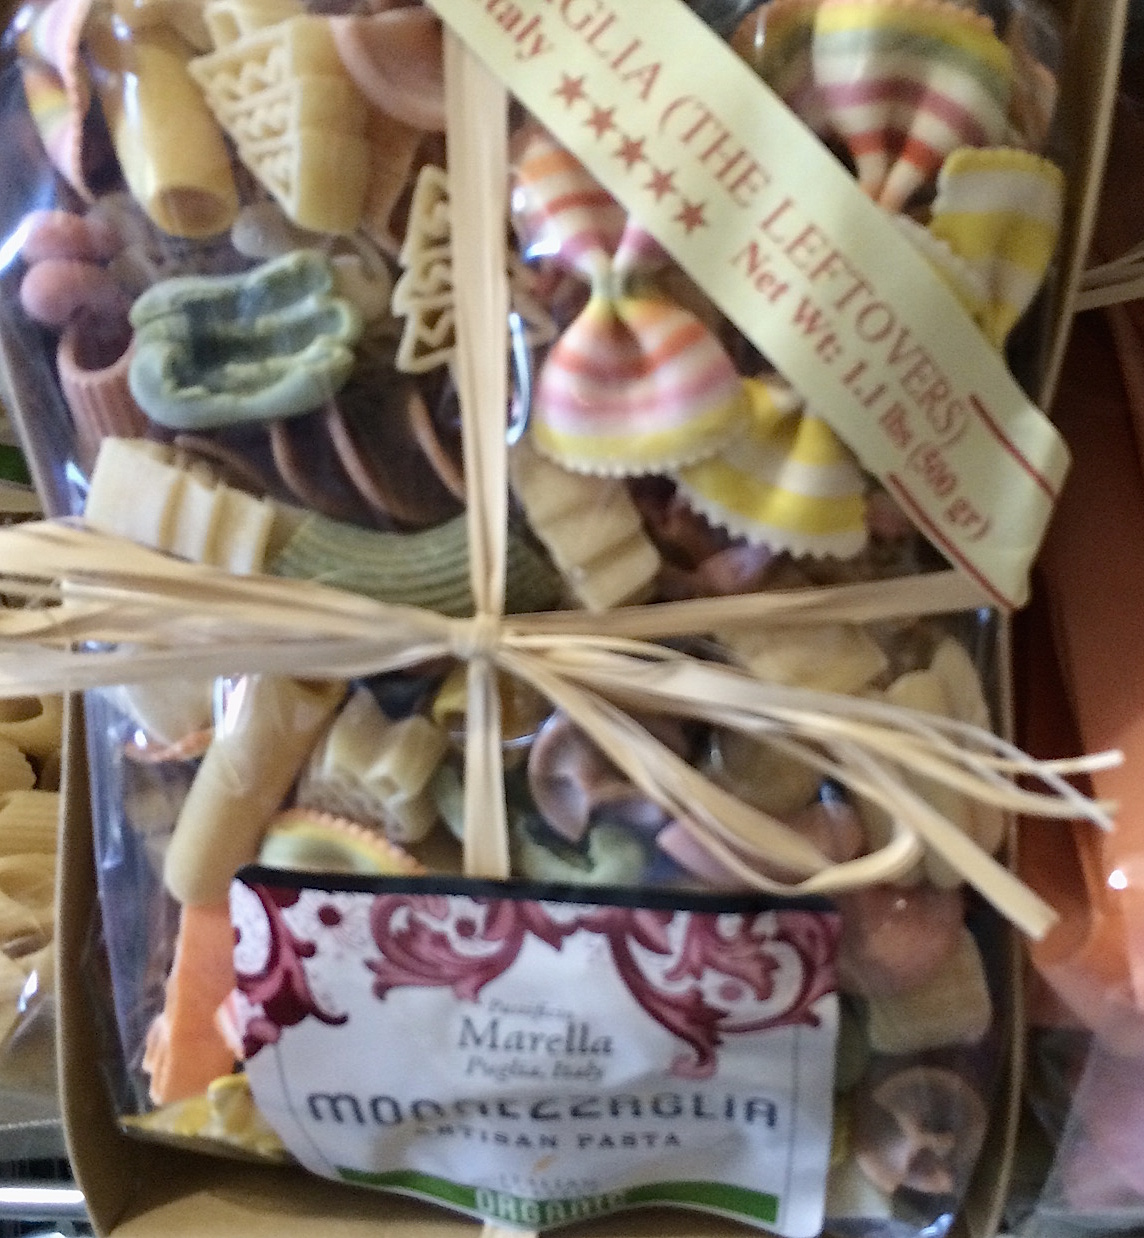
Multicolored Pasta
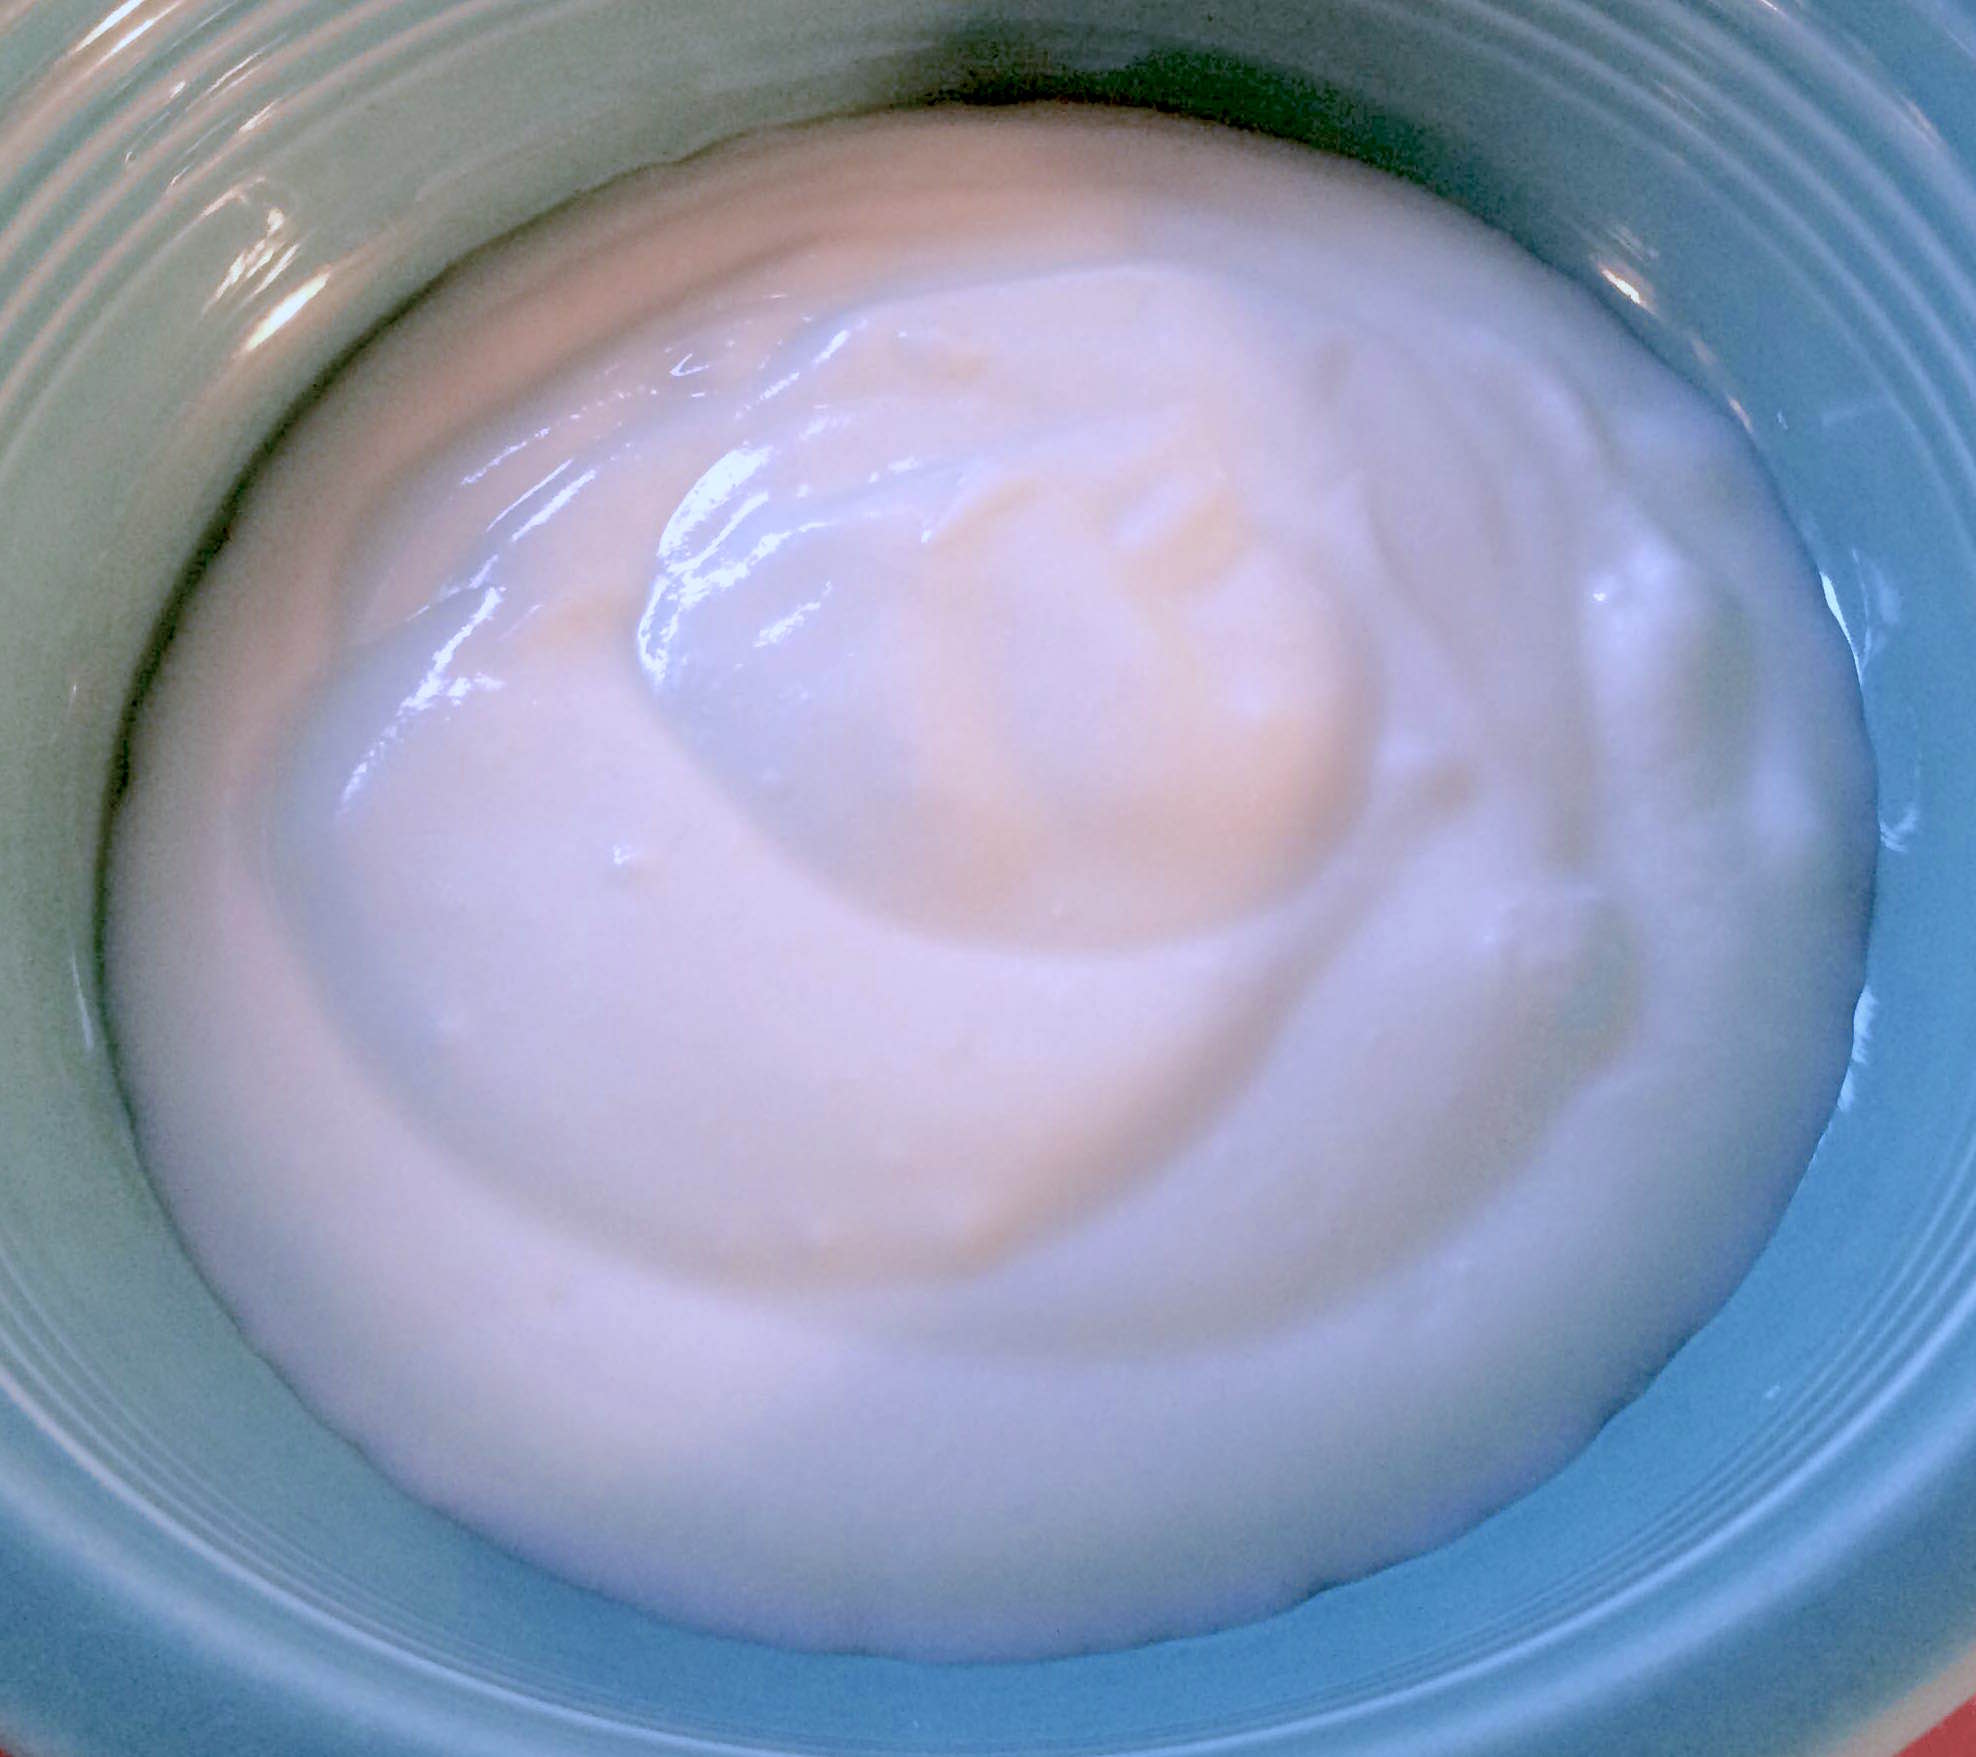
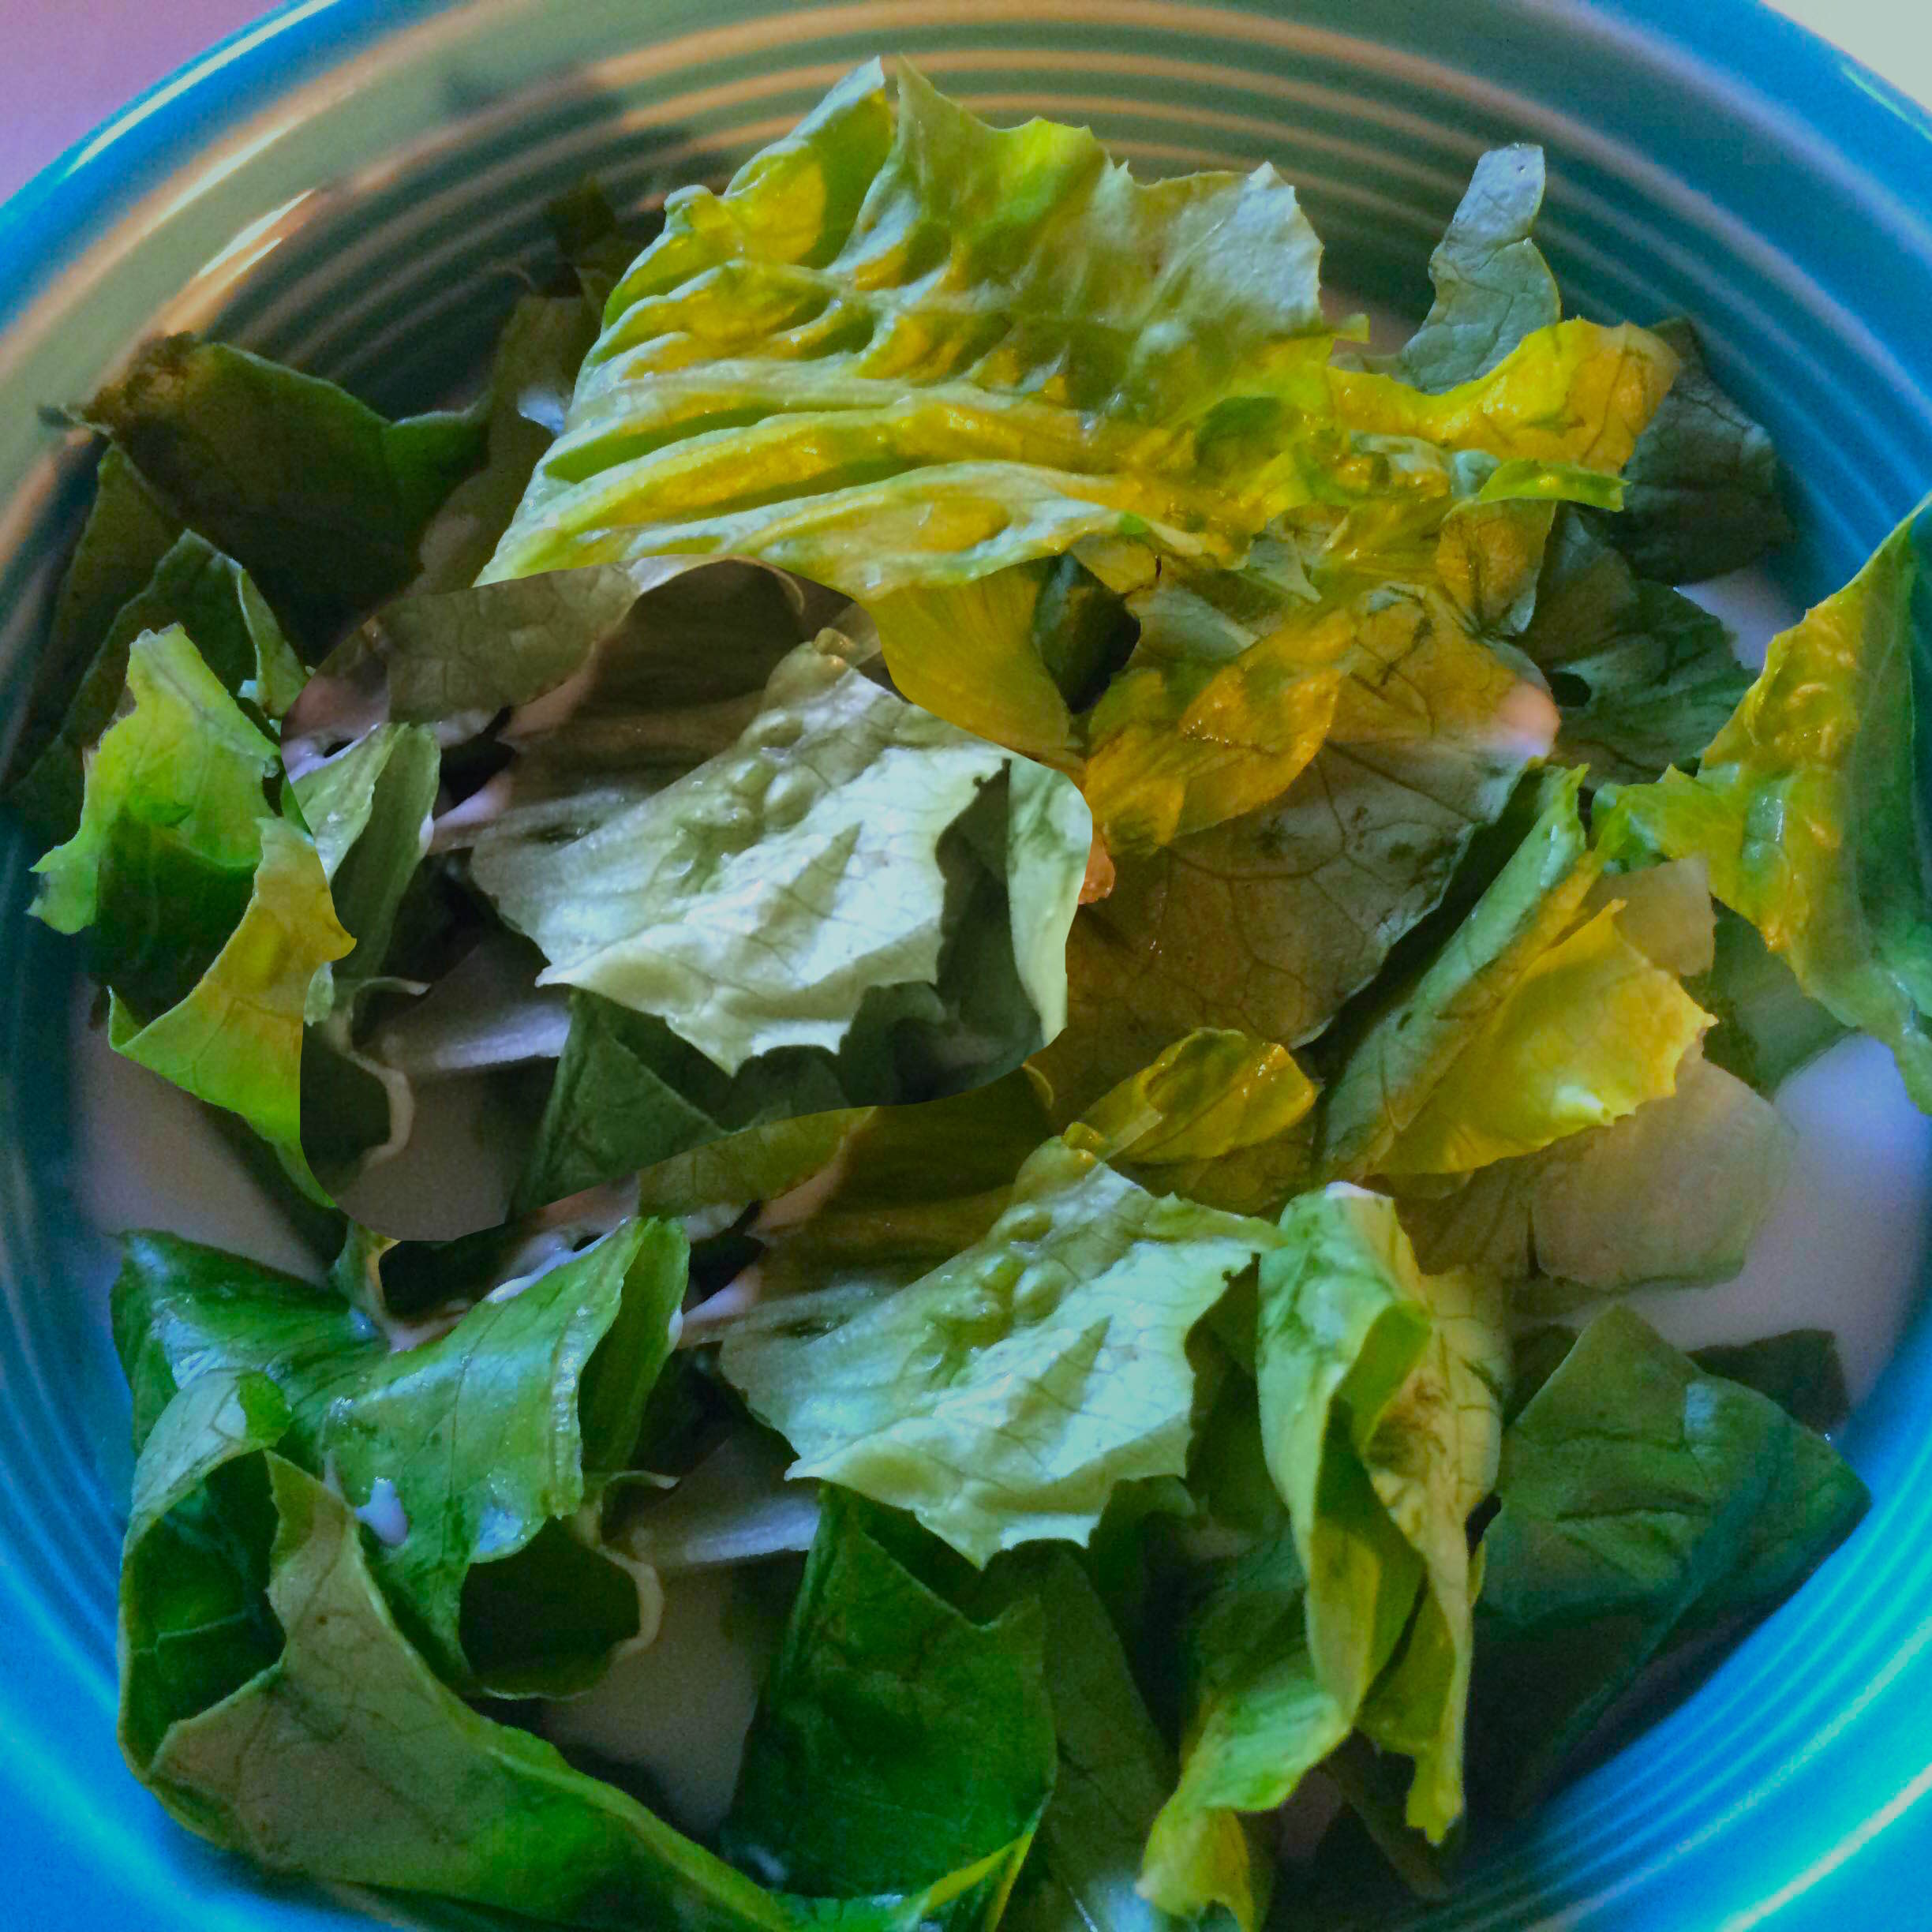
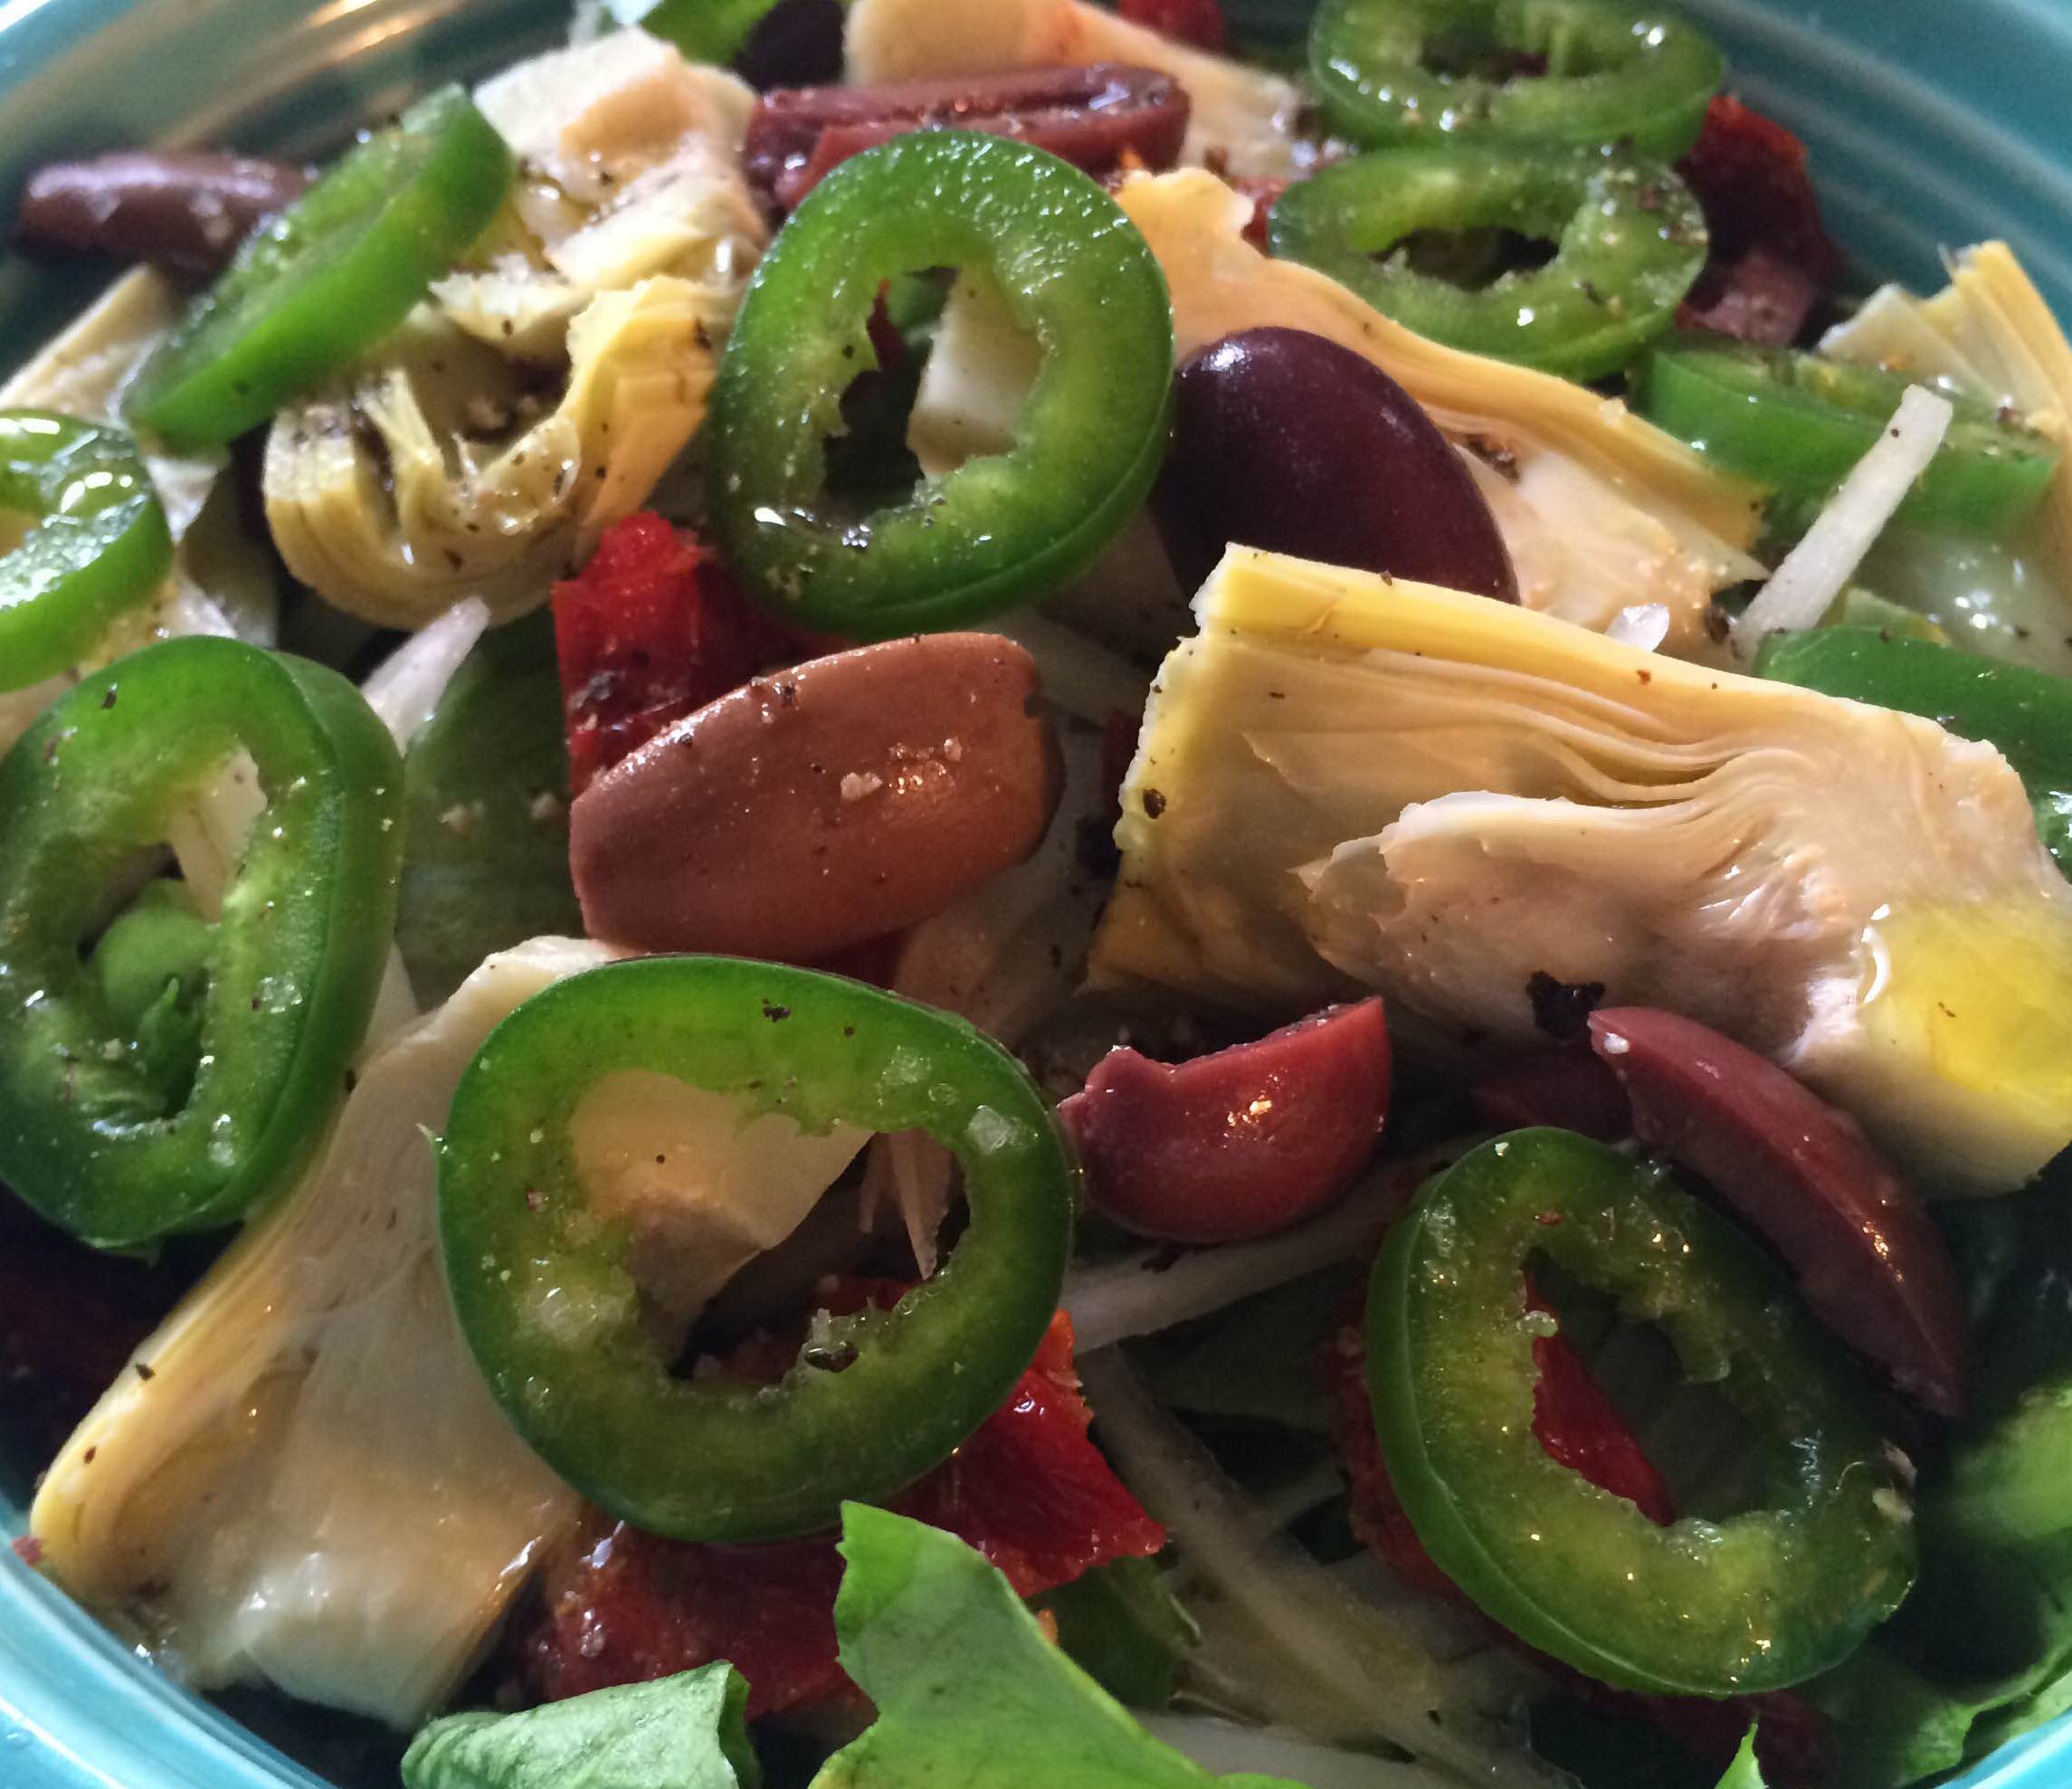
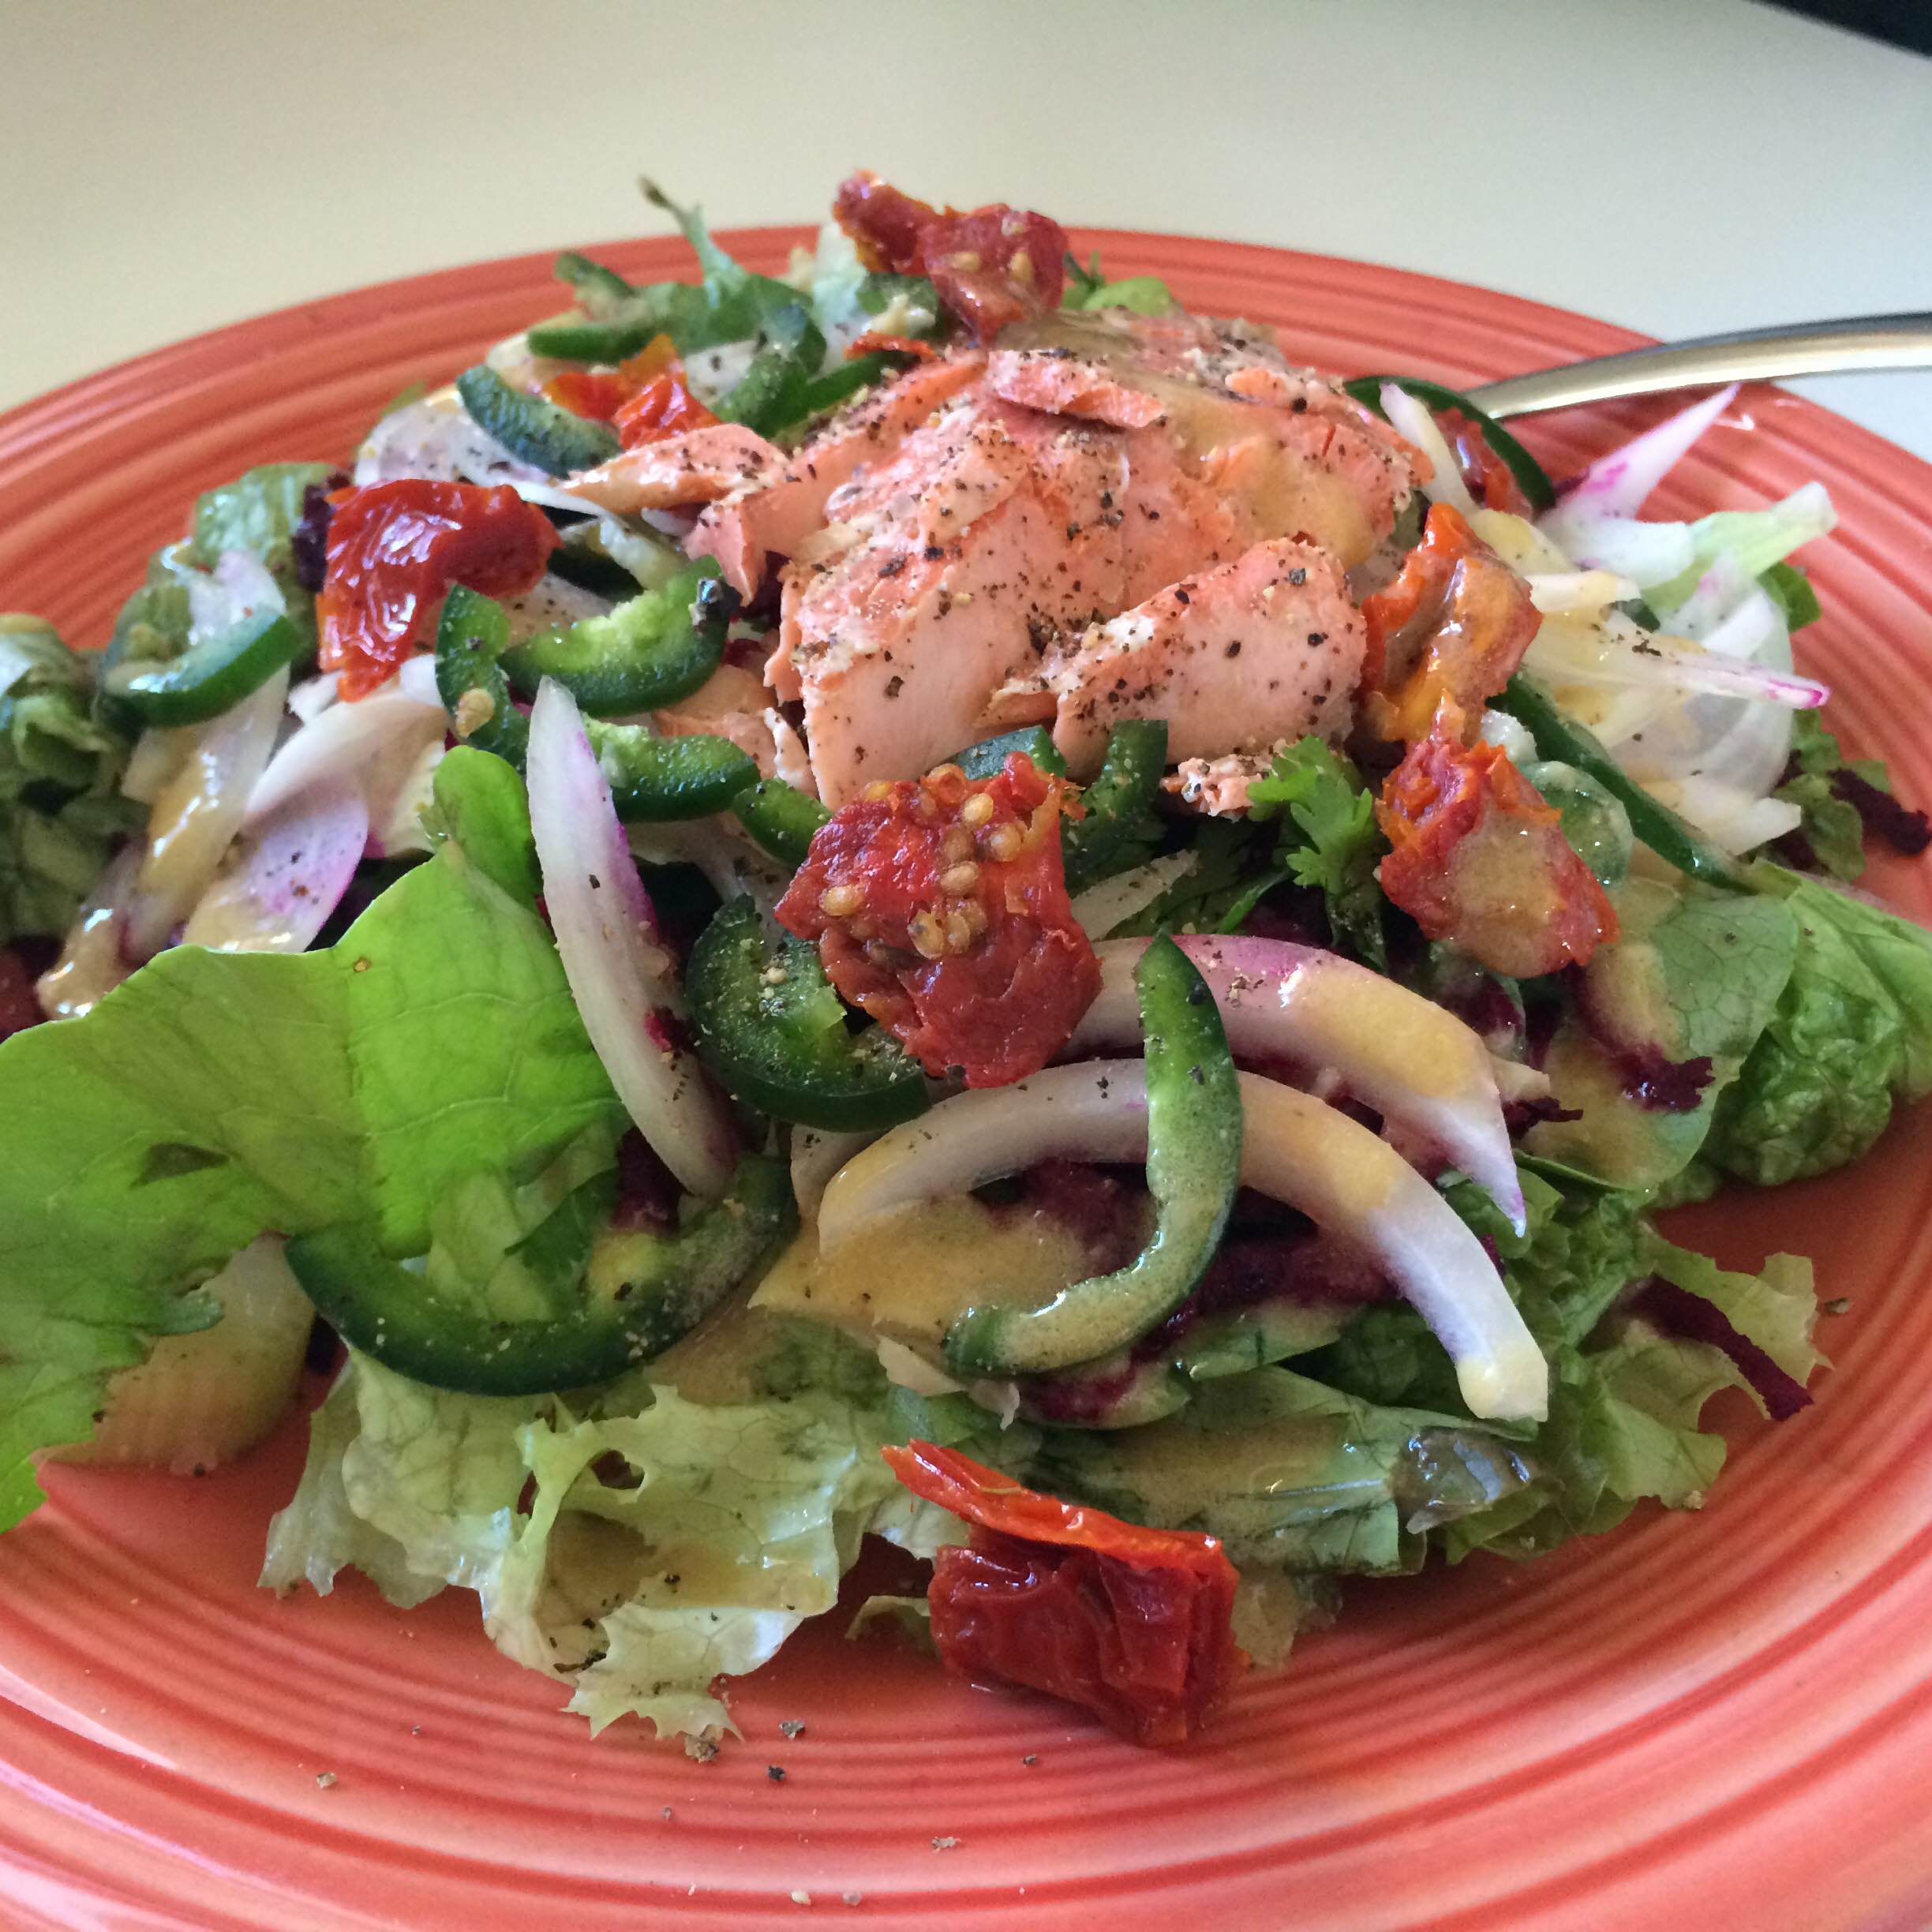
I restrained myself from making too many purchases at Surfas, because of luggage limitations, but did buy some fleur de sel and a jar of Piment d’espelette, which I was excited to find. Clocking in at only 4,000 Scoville units (habanero peppers rate up to 350,000 which is 100 times hotter than jalapeños), the Espelette pepper provides just a touch of heat, though our friend Sue, who orders Thai food with “zero stars” would find it decidedly spicy. Along with the whisper of heat, and the intensely rich pepper flavor is a bit of fruitiness, which makes Piment D’espelette extraordinarily tasty in my book. I made a quick and tasty Creamy French Dressing a couple of days ago, which is so much better than the bright orange stuff in the bottle {which I loved as a kid}.

Creamy French Dressing on Green Salad
Creamy French Dressing adapted from chezbonnefemme.com
2 tablespoons champagne wine vinegar {or white wine vinegar}
1 teaspoon sugar (or more, if you like a sweet “French” dressing)
1 teaspoon Piment D’espelette or 1 1/2 teaspoons sweet paprika {I like the Piment d’Espelette}
Salt and freshly ground back pepper to taste
1 teaspoon Dijon mustard
1 clove garlic, finely minced
1/2 cup extra virgin olive oil
In a blender, combine all ingredients except the olive oil. With the blender on its lowest setting), slowly add the oil in a thin stream through the opening in the lid. Watch out, because even though the quantities are small, the dressing will splash out the top of the blender. Check the dressing. It should be somewhat thick; if it is not, blend until it reaches the consistency of an American “French” dressing. Serve. Or, store in a covered container for up to 1 week. Whisk well before using.
Makes about 1 cup
For awhile, I’ve been thinking about knitting again, something I have not done since moving to Maui. Occasionally it’s cool enough in the morning and evening to wear a light knitted scarf, and it’s certainly cool to wear one when scoping out Haleakala. So before I left, I did some research on the knitting stores close to my aunt’s house. I decided to visit Yarn del Sol, and was happy I did. I know the basics of knitting, but haven’t knit for a few years and wanted a short refresher. There was a lovely woman, whose name I unfortunately do not remember, at Yarn del Sol who sat down with me and helped jog my memory of a particular cast on that I like, as well as a few other things. I appreciate her assistance and look forward to knitting again! I have not knit a single stitch since I returned home {I am not surprised}, because there seems to be more hours in the day to do “extra” things when you are on vacation. Once you are back on your home turf, there are tasks that you did not do on vacation, so I will have to figure out how to fit knitting into my days, and then the issue is where to purchase the kind of beautiful yarns that, as far as I know, are not for sale anywhere on Maui. There is no shortage of those gaudy hued acrylic yarns that our grandmothers often used to knit potholders and afghans. Lest you think I don’t care for those kinds of afghans, I assure you this is not the case. We have what we call “Grandma’s Crazy Afghan” on our sofa for Jack the cat to lie on, and for us when we have chilly feet. It was one of my husband’s grandmother’s belongings that we both wanted after she passed away.

Jack on Grandma’s Crazy Afghan
A few other fun times in Southern California included a delicious dinner at the Lake Forest location of Avila’s El Ranchito Mexican Restaurant. I had Shrimp Botana, which included soft handmade corn tortillas, charbroiled shrimp {quite a few!!!}, avocados, onions, tomatoes, cilantro, jalapeños and fresh lime wedges. And…if that weren’t delicious enough…there was a bowl of clarified butter {!!!} to mingle with the hot sauce. It was a dish I have never had before, and a very good choice for dinner. A lunch of delicious fish tacos was enjoyed at Bear Flag Fish Company in Crystal Cove; this is a small and very casual place with a lot of great energy! We entertained at home a couple days before we flew to the East Coast. I had the pleasure of meeting some of my Aunt Debbie’s friends, and eating some great food that we prepared {and Bourbon Slushies!}. My aunt has a very sweet dog named Honey, who I treated to lots of pets and scratches {and ice cubes that came pouring out when I didn’t pull my glass away from the ice dispenser fast enough…she loved that}. And I mustn’t forget the tiny hummingbirds who were trying hard to outgrow their equally tiny nest, just outside the sliding glass door to the back. It was fun to watch mom swoop in for mealtimes! By the time we returned from Virginia, they had moved on to bigger digs; my aunt was happy, because they created quite a mess under the nest.

Honey
Read about our adventures on the East Coast in a future post.
Bon appetit!